When Studio launched I was very excited to have an easy to use WordPress local development environment powered by WordPress Playground. Unfortunately Linux support is not official yet, but Antony Agrios added a comment with detailed instructions in the launch post. To make it more accessible to others that want to try Studio in Ubuntu Linux, here are the steps with some minor changes from me.
1. Clone the repository
git clone https://github.com/Automattic/studio.git wordpress-studio2. Install dependencies
Requirement: have Node Version Manager (nvm) installed.
# Open repository folder
cd wordpress-studio

# Make sure you have the needed nvm version
nvm install

# Install dependencies
nvm use && npm install

# Fix vulnerabilities found
npm audit fix3. Create application files
# Create packages
npm run package

# Make it executable
chmod +x out/Studio-linux-x64/studio4. Run
./out/Studio-linux-x64/studio5. Optional: create launcher
This is a nice step to make it easier to launch. This is how it will look like:
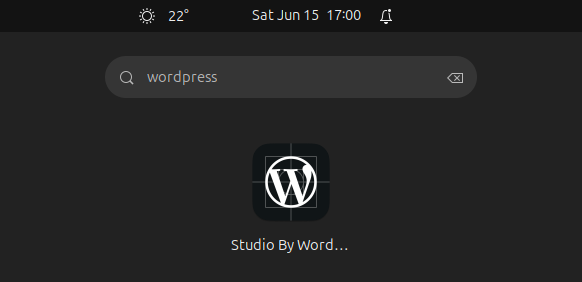
To do this, create a new file for the launcher:
gnome-text-editor ~/.local/share/applications/studio.desktopPaste the following content inside the file changing the two ABSOLUTE-PATH entries with the absolute path where you clone the repository in the first step.
[Desktop Entry]
Name=Studio By WordPress.com dev
Comment=Studio By WordPress.com dev
Exec=/ABSOLUTE-PATH/wordpress-studio/out/Studio-linux-x64/studio %U
Icon=/ABSOLUTE-PATH/wordpress-studio/assets/studio-app-icon.png
Type=Application
Terminal=false
MimeType=x-scheme-handler/wpcom-local-dev;
Categories=Development;That’s it, have fun!
Leave a Reply